Primitive pottery is always determined by the landscape and the materials found there. Pottery that is hand built and made in a more natural "primitive" way will tell a story of the landscape through which it was born. I have focused in the past mainly on the black on white style, inevitably branching out to other styles and forms of primitive pottery, always creating with my own hands and from the earth. For me it is all about enjoying each step of the process, the rich sensual experience from start to finish. I think of the ancient people of the southwest, and other potters as I work, and imagine them going through the same steps, obstacles, struggles. In this way I feel connected and inspired by them and I do my best to honor their lives, their art and culture.
Here is a simplified list of the steps I go through when creating my pots:

Finding and collecting clay
There are a lot of tricks I've learned to finding clay. It is much easier where the ground is exposed, so look in places where the earth is either naturally eroding in canyons and steam beds or where there has been excavation for roads and construction.

Processing wild clay
To process the clay I first either mix the clay into water, or grind it down to a powder to then be re-hydrated. Which process I use is determined by the purity of the clay an how quickly I need to use it. If I have mixed the clay into water or "water settled" it, I leave out the bottom course layers of sand and gravel and then let it dry to the right consistency.

Finding and collecting temper
Temper is added to cut the shrinkage rate of the clay and prevent cracks. I use volcanic sand or sometimes grind up old pot sherds or basalt rocks. I then knead the temper into the clay body or add it when the clay is still wet. The temper needs to be free of dust and fairly consistent in particle size.

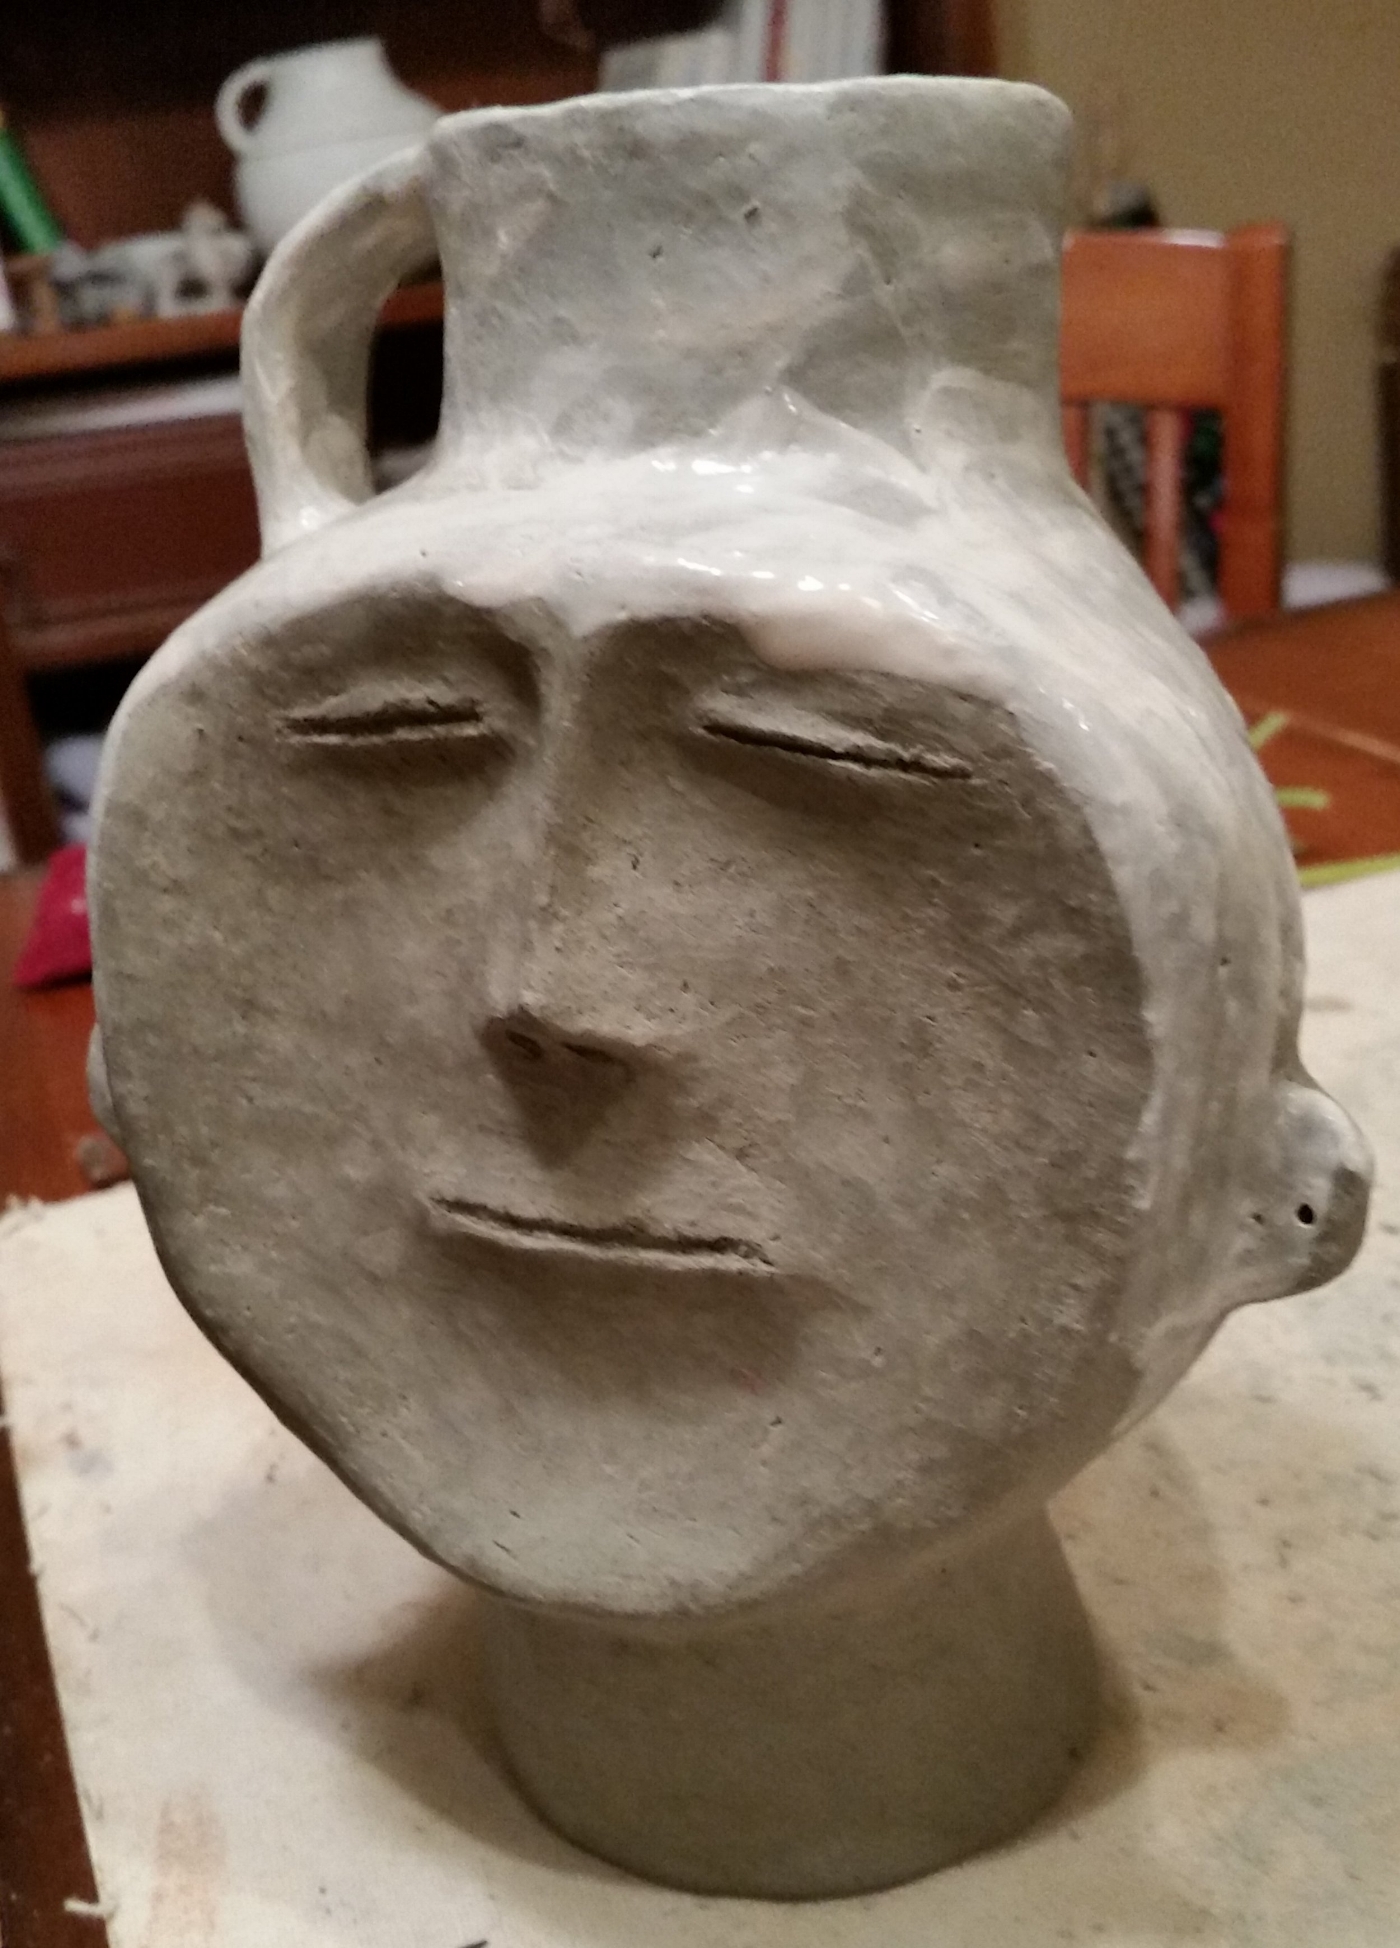
Building
My pots are all hand built using the “coil and scrape” or slab method. The Anasazi did not use pottery wheels. I use a variety of tools, scrapers and smoothers to help shape the pots.
Adding slip
When the pots are to the right stage of dryness I will sometimes paint on several coats of white slip. The “slip” is a white clay that is processed the same way as the clay is for the clay body but it is kept as a more liquid paintable consistency. The purpose of the slip is to give a smooth light colored background for the paint to contrast with.

Burnishing
To get the best finish I first smooth the pots with a scraper and then a stone. When the pot is close to dry I next go over the surface with a polished stone. This will compress the surface clay of the wall of the pot to give it a polished glazed look

Painting
I make my own paint either from certain plants that are cooked down (organic paint) or from local minerals that are ground down to a fine powder. I make brushes out of yucca leaves for painting.

Firing
All of my pots are fired outdoors in an Anasazi style trench kiln. From start to finish a firing takes me 4-5 hours, depending on the number of pots and the type of wood used. Firings are intense, exciting, and extremely hot!
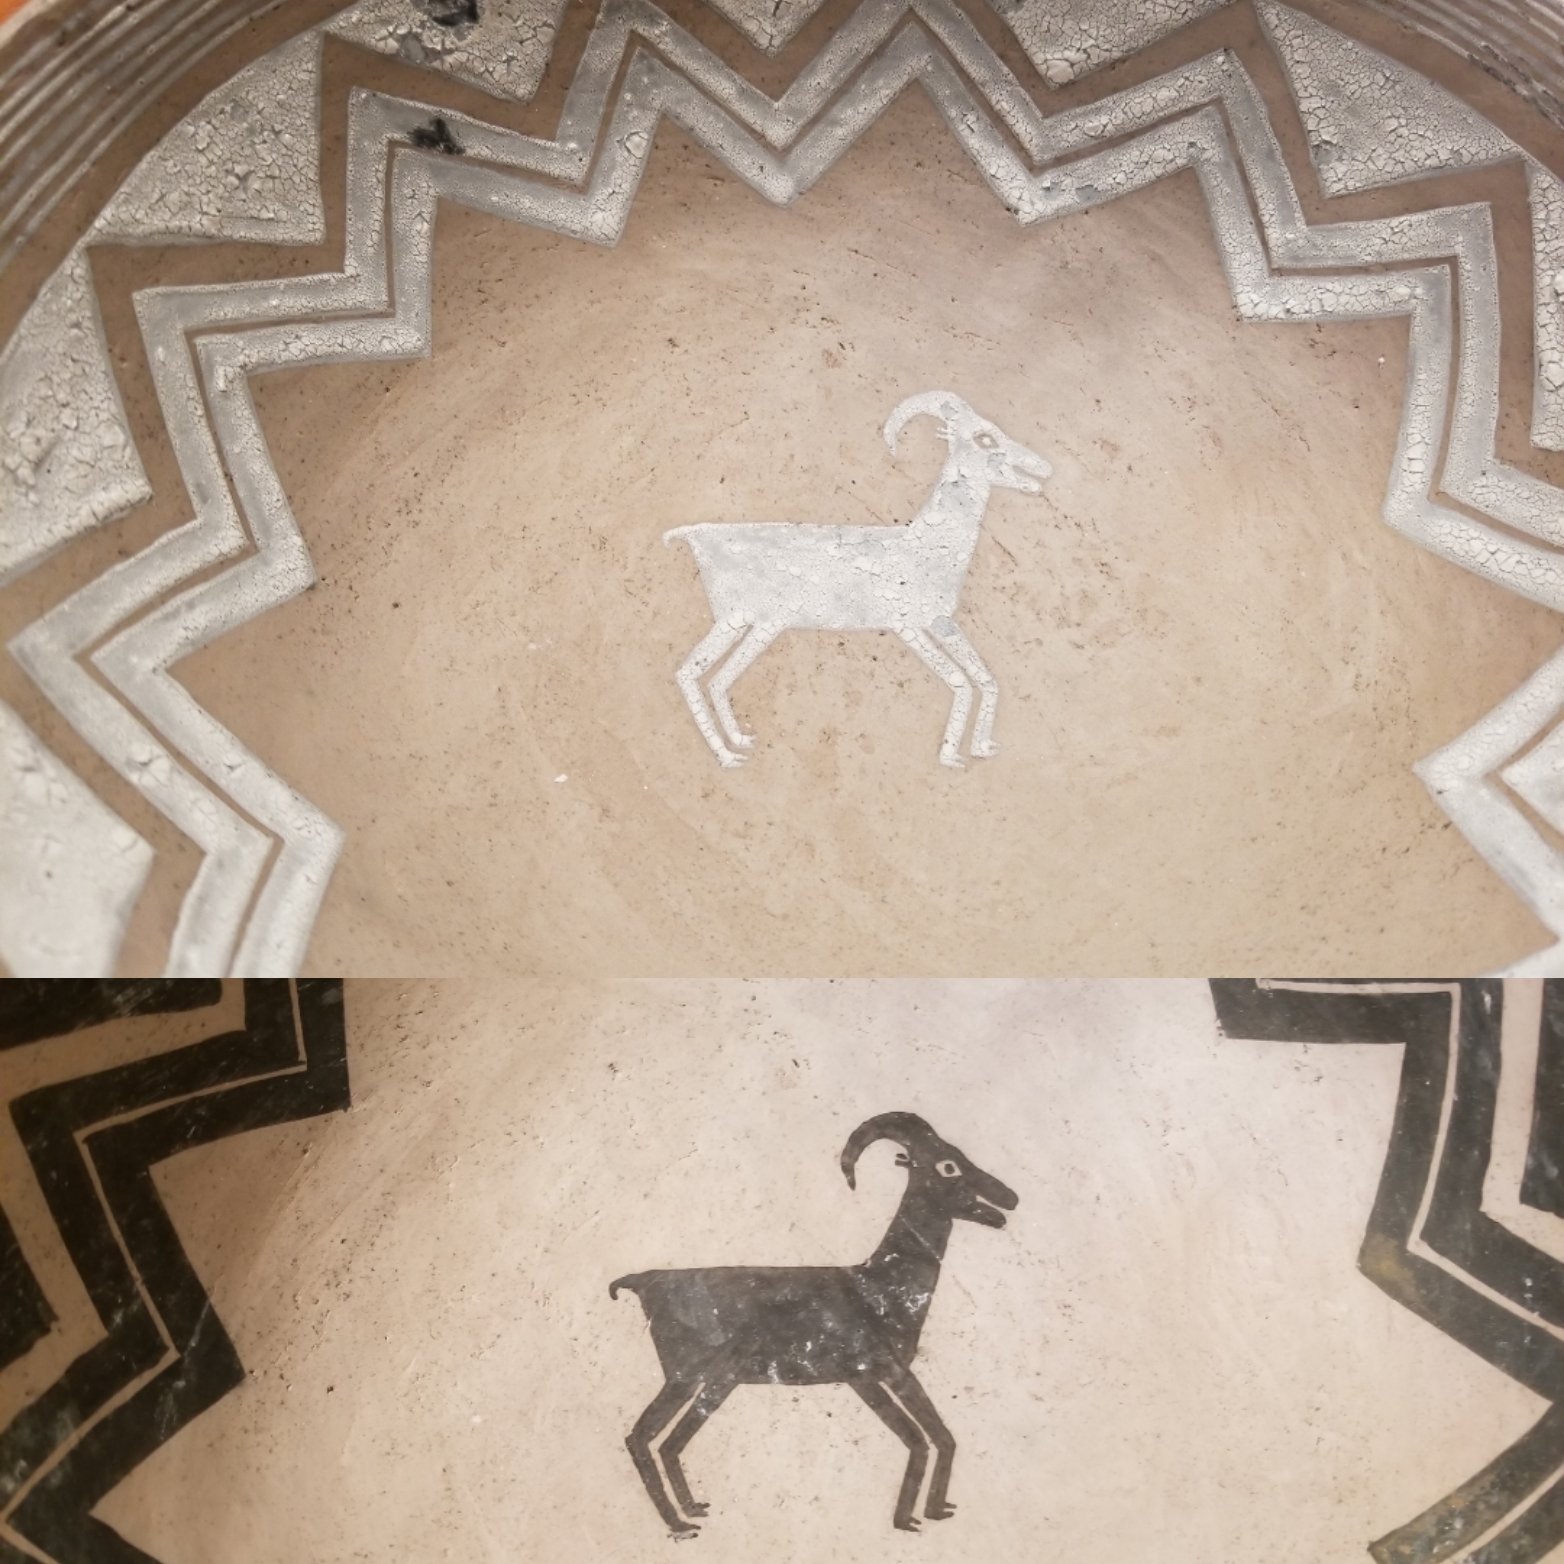
Out of the kiln
Getting the pots out of the kiln is like an archeological excavation. It's important to take note of where certain pots sit in the kiln and of varying temperatures and firing atmospheres within the fire. Every firing teaches a potter something, if she is paying attention. Pots with organic paint come out with an ash covering that must be washed off to see the black.